Friday 27 April 2012

Finally we have started animating now, we have gotten several shots done in around five days, which is looking promising when taking into account that we only have 42 shots in total.

However the issues of too many characters is causing problems again, we only have four of the five characters fully finished. I am really stressing out that they're not all finished at the moment, we still need to attach the rig to Coco, and I know full well that, I'll end up having to fix his vertices and clean him up, just as I did with Blackberry and Acorn.

ANNYYYWAYYY I have been testing lighting in Maya, using the mental ray software which is a plug-in rendering software, looking at tutorials, online and magazines. I was able to gain a better understanding on how to create a real sun and sky effect. I also learnt how to attach different lend on the camera to change what the overall effect will be when rendered out, when using the camera with the newly attached lens

Here are some renders I did while testing for a suitable lighting style.

 This set of lighting was not done with a physical sky or sun as I did not know about them at the time, this why they are so dark.

 I found the physical sky and sun.
 After some messing around with the values on the physical sky and sun, i started to gain an understanding of how I would achive the desirsed look I wanted.


 This test here is my favorite by far, the saturation is a lovely rate of 1.5-1.8, low multiply of 1, and a good handful of other values.

I continued to do a few more tests after finding the look I like, just to be sure.

Wednesday 4 April 2012

Two Rigs Notice

sorry I haven't post anything in the last couple of weeks, I have been having such a nightmare with the rigs I am currently using.

So what happened is this, I was talking to one of my lectures about how my work was going, and how teaming up with Sancha in the long run will help us both out. I raised my concerns with making rigs for the characters as I have never really made a entire rig for anything in Maya before and my tutor brought up an add-on for Maya called the Set Up Machine, which allows you to automatically create a rig, which has many infulences associated to it. I was forward by my tutor if I did use the Set Up Machine then, I would have to do more skin weighting than if I made my own; which I thought was an alright deal, as I was not confident in my rigging skills and if I messed something up while building the rig, it would set me and Sancha back a bit, and we can not afford to lose time and with skin weighting if you miss a part of the body you can fix it with out having to backtrack to older save files. Anyway I will get to the point of it, basically, I worked on attaching the rigs to the meshes of the characters, that part was fine, it was the skin weighting part which was the part that took the biscuit; no matter what I did, I could not fully clean or apply influence properly. After speaking to the Maya technician, he unfortunately told me (to be bunt) that the rigs were never going to work correctly and to make a new ones from scratch.

This bit of information, was disappointing as I felt that I had wasted two weeks, and gained nothing of value, other than DO NOT EVER USE AUTO RIGS!.

Anyway, rather than being annoyed for too long, I took a seventy video installment, tutorial on how to make a professional level rig, from Digital Tutors. It took me four solid days to get it done, and now I can happily say I can make rigs, weirdly I really enjoyed rigging, I like the techical challage that it provieds, but more importinally is the satisfactions i get when rigging feels good, rather than when I animate, I feel that I don't get much emotional satisfactions when I have put a lot of time into making pieces of animation.

It is safe to say that I am really considering being a rigger as my career choice in life, sadly I only have one item to put into a riggers show reel, so what I might do, is the 3rd years next year and the M.A students is to offer my assistance in helping them complete their films. as rigging can be really tricky if you do not understand what is going on around you. I will also do a lot more rigging during the summer for my show reel.

Here ares some of the still of the past few weeks.


 As you can see here I have stated to make some controls, such as the chest and Center of Gravity (COG) controls for the character rig.
 the images above is me creating a expressions, which are add on nodes/features which are set in the channel box.

 Here I have created the reverse IK foot set up for the rig, with it a foot, toe, heel control.
 you can see the foot bank in action here, which allows the foot to sway side to side.

 This is the lower half of the characters rig, as you can see it is colour coded, so i can easily identify the left and right side controls.
 here is the a shot of the full 3/4 veiw of the rig with some nodes on the left hand side panel.
here is a side view.

Saturday 18 February 2012

this is not looking so good anymore

ok, I do not mean to sound like a diva or a drama queen, however I am starting think that maybe partnering up with Sancha maybe of been a bit of a mistake. If you have been reading my post for a while now, then first thank you for keep up with me, and the other thing is that I mentioned in a previous post that there are five character in this film, originally I was bit hesitant about there being so many characters in a CG grad film, but I thought that there being two people working together it might be ok.....that was until the other day, when I got given Sancha's models that she had been working to create some blendshapes for them, the flow of gemomatey is non existent, it was so messy; here have a screen shot to see what I mean.

As you can see in blocked mode the mesh looks hideous, so I ended up having to fix them meshes as quick as I could to bring it to some form of animate-able condition.


 for black berry there are just far too many polygons it would of been a nightmare to create any blendshapes


Here is acorn who i have started to patch up so she is able to have a good deformation when animating .


Modeling the one of the Characters

This past week and a half I have been modeling one of the two characters for the film I am working on with a fellow student. there isn't much to talk about really this week other than showing you some images of the process when making him. oh just for the record, this is the mushroom character.


I am hoping to finish him off next week and also by adding eyes, mouth, tongue. Also I am planning on starting to 

Sunday 29 January 2012

Brace yourself, changes are coming.

So not long ago I had a conversation with my lecture, after a feedback session and she is worried that I may not be able to finish my film for the deadline which is a few months away. I slightly disagree with what she says, I think I can get the characters modeled, rigged, animated, rendered and edited together in time for the hand in. What I do agree with my lecture is that my story really is not up to a good stranded and I think that I do no have time to work on it as well as doing all the other tasks I mentioned in the above text.

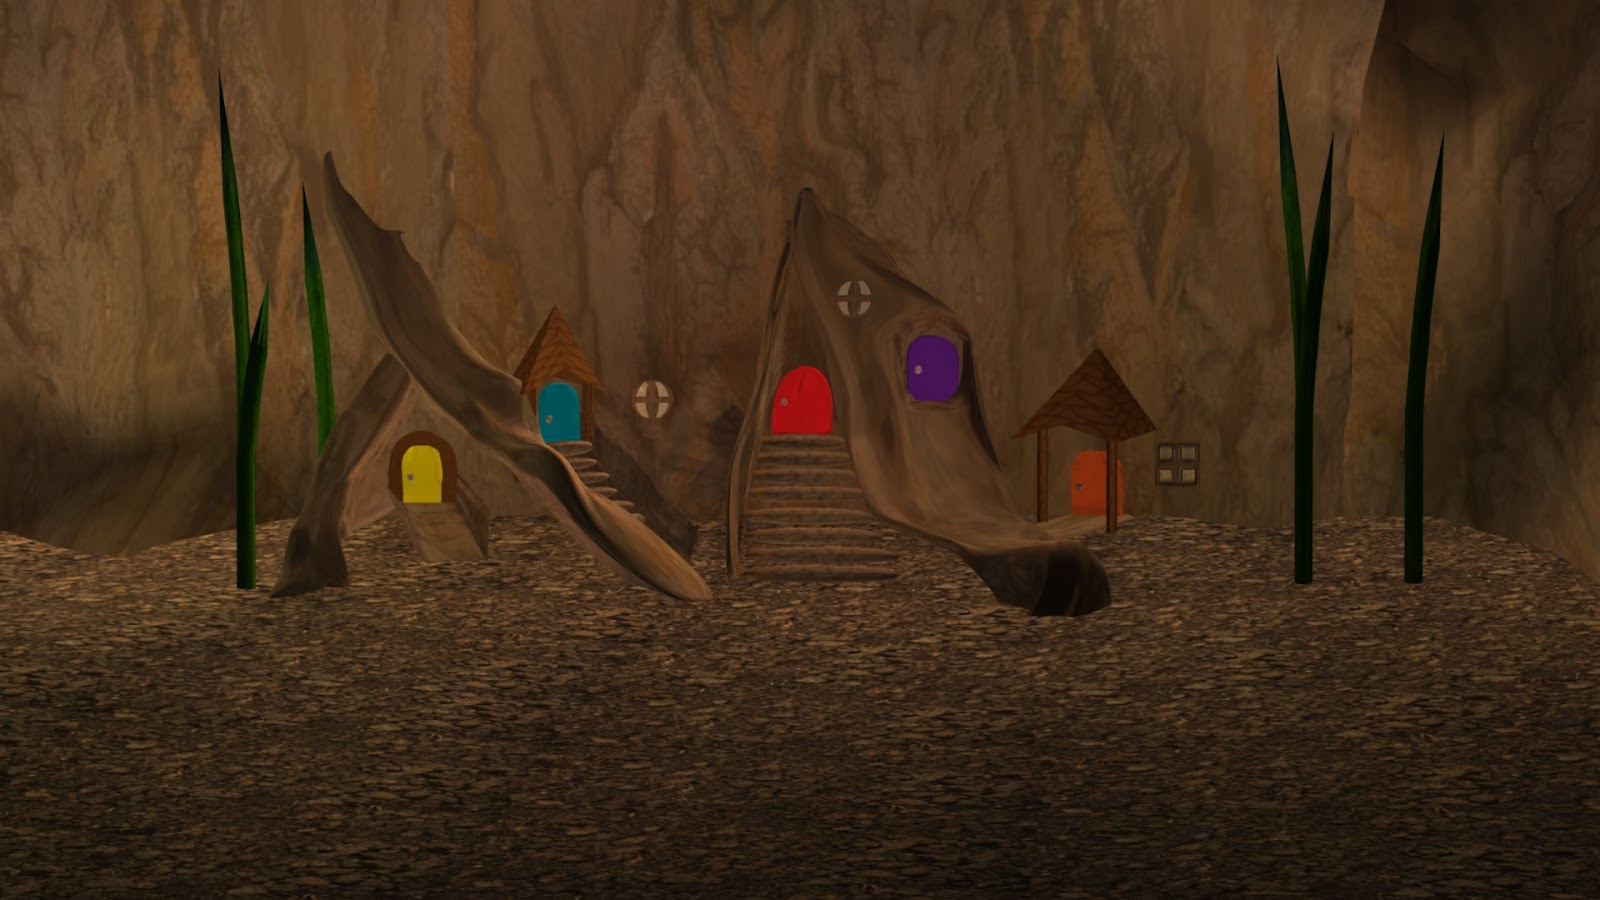
So my lecture proposed a merge with another fellow student. as her story is there, however her technical ability is lacking and we feel that I can provide that support she needs. So I decided to ask Sancha the student who I was suggested to ask to work with, and I emailed her telling her what one of our lectures told me and ask her if she would be willing join in a partnership. Once I got her respond I could tell that she was a bit nervous at frist about it but she agreed to meet up for a briefing of her film since I had not see anything it before hand, as she hardly turns up to lecturers and critiques. Anyway, so we meet up, Sancha went through her film with me, which is about five autumn type creatures, which are all based off different nuts/fruits/fugues you can find in the woods during that time of the year. There is a red berry, blackberry, mushroom, acorn, and a conker. The story is aimed at young children and is about these five creatures who like to play all day, but one day, a human comes along and picks the mushroom up and takes him away. The other characters are upset that their friend has been taken away, they deiced to pool their resources together, as each one have one of the five senses, touch, smell, sight, hearing, taste. they travel outside her home, through tall grass, and cross rivers; finding clues along the way, eventually they discover the mushroom character and rescues him.

I am a bit worried about there being five characters that need to be modeled, rigged, animated, and this did make me thing I only have two (I understand that one was a cartoony, cuddle dragon), but the fact that there are two of us, eases that concern. I have been assigned to make the mushroom, and redberry character for now, which is cool. I was also given her production bible to help me understand her film and what she wants, some concept stills and her animatic......which in all fairness is a bit poor, it is more like a story board and even then it just acceptable in my mind.

Here are some of the stills, concept and animatic that I was given from Sancha.

THIS WORK IS NOT MY CONTENT, ALL CREDIT GOES TO SANCHA PURSEY.


This Character I am modeling is called Red Berry

This Character is called Mushi Mushi, he is the only who gets stolen.


Here is the animatic that Sancha had made, this is meant to help me animated when we come to that stage and to tell the story, through visuals and audio.


THIS WORK IS NOT MY CONTENT, ALL CREDIT GOES TO SANCHA PURSEY.


I do like her designs for her characters they are rather trendy and appealing, however I have a few massive complaints about them. for a start they are way too flat and when using them as reference when modeling this can cause issues later on, another problem I have which isn't anyone's fault really, but it is that these characters do not really have a neck. and I have recently watched Lost and Found and fantastic short film from Studio A.K.A which is based off the children's novel of the same title. In the behind the scenes footage they talk about how in the oringal drawings from the book, the boy in lost and found does not have a neck and in CGI this makes it much more difficult to have the opitum amount of head movement, so they had to include a neck anyway. so I believe I will have to do the same thing and raise this point to Sancha just so that she knows to do the same when modeling the other characters.


Created by: Oliver Jeffers & Studio A.K.A

                                                          Created by: Oliver Jeffers


                                             Created by: Oliver Jeffers & Studio A.K.A

                                                         Created by: Oliver Jeffers


As you can see that in the orginal drawings from the book, the boy has no neck but in animated adaptation they have given him a neck.

Sunday 15 January 2012

Update on Alex (CG Version)

I have been working on both Alex and the Dragon in Maya, over the past weeks I have finished with alex's shape and I am rather happy with the outcome, I may have to do a tweak here and there next week., but next week will mainly be about creating a face for her, which will be a new thing for me as I have never made a face in Maya, I am sure it will be interesting to say the least.

As for the Dragon I did start him off in Maya, but because I haven't spent a ton of time creating him as of yet, I have taken the advice of my technician and have a go in Z-brush which is a program which acts in layers like Photoshop but in CGI world rather than a 2D one that Photoshop uses. Z-brush is also better than Maya in making very detailed and refined CG models and since I want to be a modeler I thought it would be well worth a shot plus I get to use a new program which might help me later on in my life.

Here are a series of Screen shots of me creating Alex in Maya, you will see me starting with a blocky head and slowly fleshing it out until I got my almost final result the final moments of Alex in terms of her mesh will be when I add the eye balls, mouth and nose. I still need to texture and her.


 A lot of the work at this stage was to just clean up the wire framing of the mesh so it would when texturing comes later on and rigging the mesh will bend and react in the correct and best way possible by having a mesh that is not messy.


Here I was nearing the end of shaping out Alex's mesh body and when merging together the different shapes I had to be careful of missing points in the mesh that needed to be merged together.

 Here is one of those points that I missed earlier on but found and addressed the issues as it was causing neck line to distort.


 Alex's mesh here is all cleaned up and I have placed for extra edge loops around parts of her body were a joint will be so when I add a rig and bind it to her body the bends in the mesh will react better.
This final image is Alex in with a early rig put in place, I think I might have to start the rig over again though because I have not placed any clavicle just before her arms, which this will effect any subtle movements I want to do with the arms.